
Complete Guide: How To Install, Connect, And Setup NitroPack Plugin in 2021
After reviewing the NitroPack plugin, now we will tell you how to set up NitroPack on your WordPress site. Fortunately, NitroPack is easy to configure thanks to its simple and straightforward interface. It enables you to set up the plugin automatically or manually.
In this post, there is a step-by-step to guide you starting from NitroPack installation, connecting NitroPack to your website, until the configuration setting of NitroPack.
NitroPack
NitroPack is a website performance optimization plugin to speed up your website loading time. It works in the cloud that means all optimizations perform in the cloud. Therefore, the plugin works very light with a lower CPU overhead compared to standard caching plugins. Not only that, but NitroPack also analyzes Google PageSpeed Insights and Lighthouse results for your website to give your website a faster loading time.
Read our complete review about NitroPack gives you the best website performance optimization in the cloud.
Things You Can Do With NitroPack
NitroPack optimizes all aspects of your WordPress so that you will get the fastest performance possible. The plugin allows you to do:
- Code optimization
- Image optimization
- Smart caching
- DNS prefetching
- CDN
- and more
How to Install NitroPack on WordPress
Here is the step-by-step guide on how to install NitroPack on WordPress:
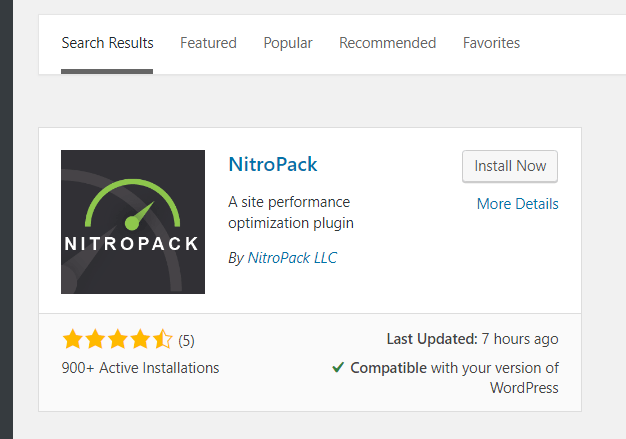
- Login to your WordPress admin dashboard and go to Plugins > Add new.
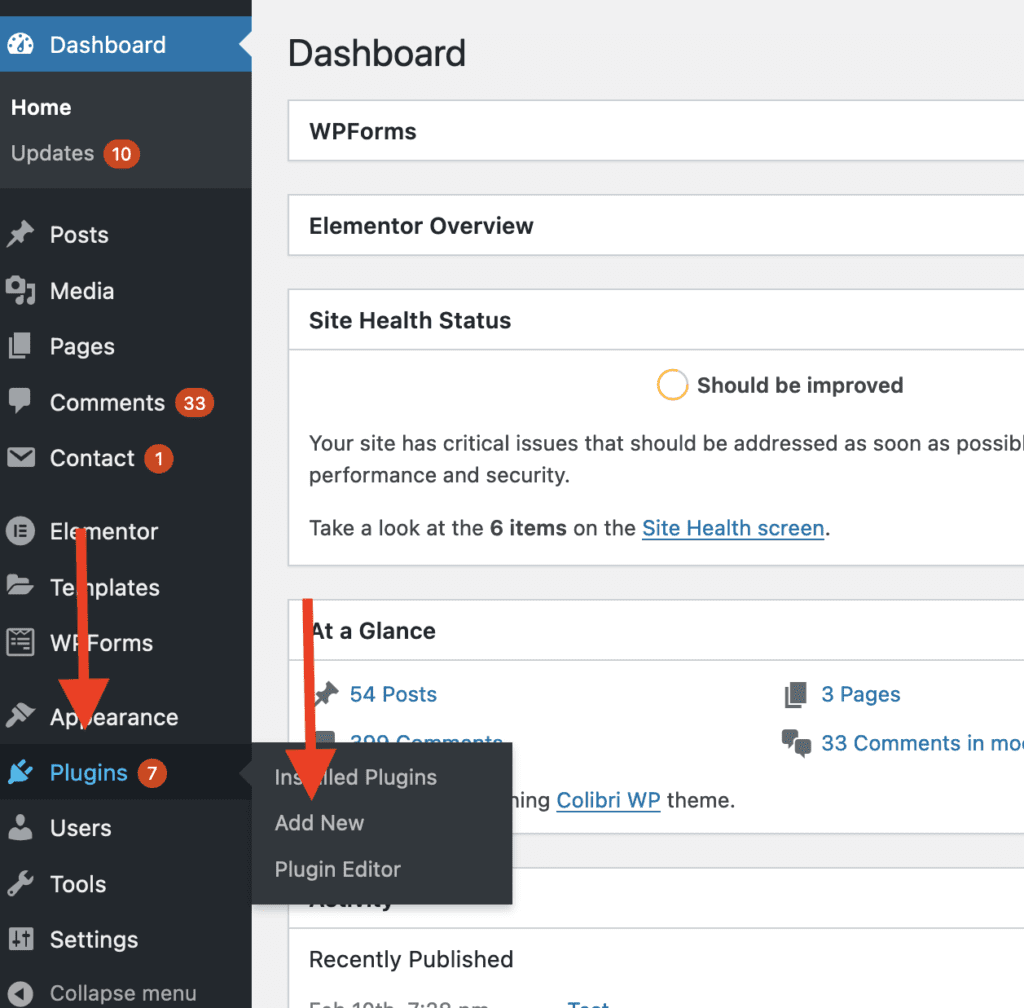
- Search “NitroPack by NitroPack LLC” then click Install Now button.
- Go to Plugins > Installed Plugins.
- Click Activate link on NitroPack.
- Your NitroPack installation is complete!
How to Connect NitroPack to Your WordPress
After successfully installing NitroPack then you need to connect it to your WordPress. Here is the step-by-step guide on how to connect NitroPack to Your WordPress:
- Create an account at NitroPack if you don’t have one yet.
- Login to your account and go to the “Connect Your Website” menu on the left.
- Open your WordPress admin dashboard and go to Plugins > Installed Plugins > NitroPack > Settings.
- Click “Connect to NitroPack”
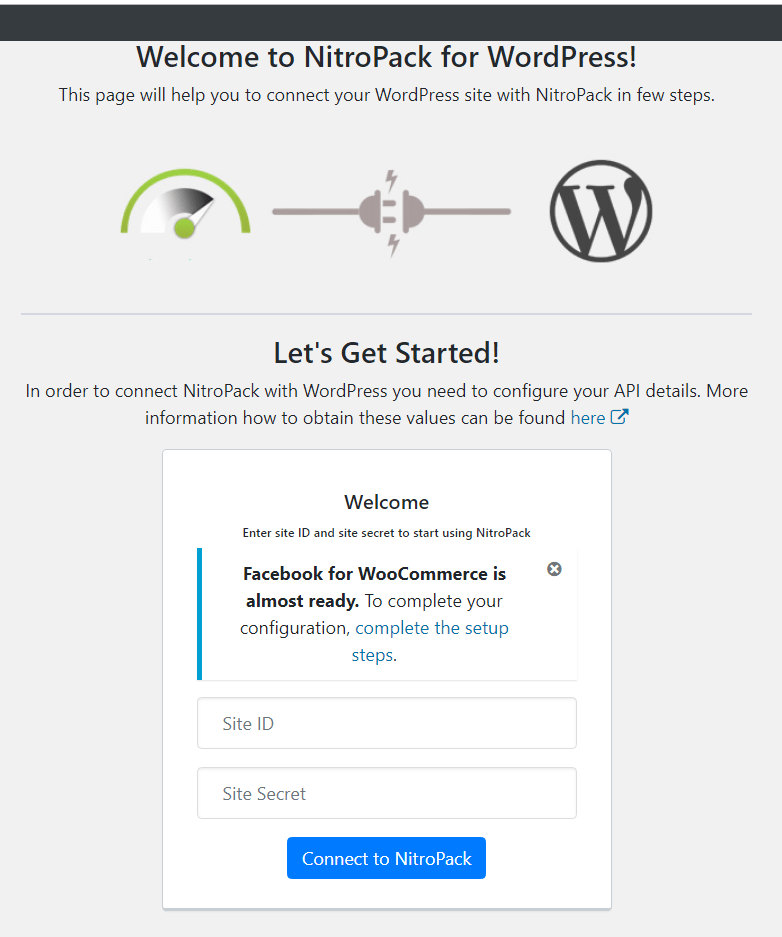
- Now, you have connected your WordPress to NitroPack!
NitroPack Setup Guide
After your WordPress is connected with NitroPack, you can now start configuring which features to use in the NitroPack plugin. Here is the step-by-step guide on how to setup NitroPack on your site:
First of all, go to the settings tabs of NitroPack so you can see the NitroPack dashboard.
NitroPack Dashboard

There are 4 tabs in NitroPack Dashboard:
Optimized Pages
The tab on the top left is the Optimized Pages where you can see how many and what pages have been optimized by NitroPack.
Plan
The tab on the top right shows what Plan you get for NitroPack.
Settings
The tab on the bottom left is the Setting to enable features like cache warmup and HTML compression. Besides that, you can directly disconnect the NitroPack plugin from your WordPress site.
Configuration
The tab on the bottom right is the Configurations where you can choose between 5 options for your NitroPack optimization:
- Standard: A predefined configuration that enables basic optimization without much regard for a high score.
- Medium: Well-balanced optimization that is suitable for most cases.
- Strong: The optimization includes advanced features like automatic image lazy loading and font definition modification.
- Ludicrous: A predefined configuration that enables all optimizations to achieve the highest possible score.
- Manual: Customize your own optimization settings. If you activate this option, you get to see the Advanced settings for configuration custom.
From here on we will explain the NitroPack features in the Advanced settings after activating the Manual configuration.
Minify Resources
![]()
This option enables or disables the minification of JavaScript, CSS, and HTML resources. If you enable minify resources, it takes all of your files and removes all the spaces and line breaks in those files so it makes your site’s files smaller. As a result, it shortens the time for loading those files.
Image Optimization
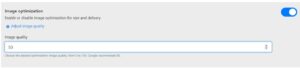
This option enables or disables image optimization for size and delivery. When you enable it, NitroPack will automatically reduce the quality of your images to balance between speed and visual display. You can adjust the image quality from a score of 0-100. We recommend you to set it to 80.
Automatic Image Lazy Loading
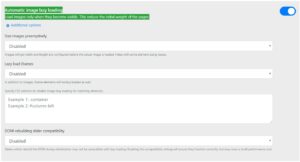
This option allows NitroPack to load images only when they become visible. As a result, it will reduce the initial weight of the pages and make your website load faster.
Optimize CSS Delivery
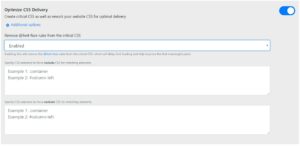
This option will create critical CSS as well as rework your website CSS for optimal delivery. If you enable it, it might cause a brief momentary flash of unstyled text, however, this option will load the CSS files substantially faster.
Combine CSS into one resource

This option enables NitroPack to use a single file for all CSS rules grouped by media type. It will search out all the .css files which compose something like the .body-content, or the .sidebar-widget area then combine those files into one file. After that, it will deliver that one combined file instead of several smaller files from the server to the end user’s screen.
Override Font Rendering Behavior

This option enables you to set a desired value for the CSS font-display rule. There are 5 options to define browser behavior when rendering fonts. It’s best to leave this option set to “auto” so the NitroPack could render the best font-display rule for your site.
Combine JS into One Resource
![]()
This option enables NitroPack to use a single file for all JavaScript code. If you enable this option, it will reduce the number of network requests and make rendering more efficient.
Remove render-blocking Resources

This option allows rework and repositioning blocking resource files in the above-the-fold portion of your page. If you enable this option, NitroPack will determine which files are delivering your website in which particular order. We recommend you to enable the first two options and set the last one (the strategy) to “Styles First”. This will help NitroPack load the site’s files in the best order.
Tutorial
Conclusion
NitroPack is a cloud-based performance optimization tool to boost your website’s Google PageSpeed score. It’s very easy to use NitroPack due to its simple and straightforward dashboard. If you don’t want to bother customizing the setting, NitroPack offers a predefined configuration based on the level of optimization. You can choose from standard, medium, strong, or ludicrous options. However, if you want a customizable setting, then you should choose the manual option. Inside the advanced setting, you can find several features to enable. There are minify resources, image optimization, automatic image lazy loading, optimize CSS delivery, combine CSS & JS into one resource, override font rendering behavior, and remove render-blocking resources.
References